

In the realm of golf, precision and strategy converge beautifully in the art of executing a cut shot.
This maneuver, a staple in the adept golfer’s playbook, is not just about altering the ball’s flight path; it’s a testament to a player’s ability to adapt to the course’s challenges.
Understanding the Cut Shot
The cut shot, often interchanged with the term “fade,” is a refined stroke that sees the golf ball curving left to right for right-handers, and vice versa for lefties. Unlike a slice, which is generally unwanted, a cut shot is played with intention, offering a controlled, predictable arc that can adeptly navigate around obstacles.
Strategic Applications of the Cut Shot
Imagine facing a fairway met by towering trees, with the green beckoning from beyond an imposing oak. Here, the cut shot shines, allowing you to curve the ball around the obstruction, placing it gracefully on the green. This shot is not just about avoidance; it’s about positioning, offering a tactical advantage whether you’re skirting a bunker or aiming for a favorable spot on the green.

Step-by-Step Guide to Hitting a Cut Shot in Golf
Executing a cut shot effectively requires a blend of technique, practice, and understanding of the shot’s mechanics. Follow these steps to master the cut shot, adding a valuable stroke to your golfing repertoire.
Step 1: Visualize the Cut Shot
– Recognize that a cut shot, or fade, for a right-handed golfer, will move from left to right in the air. For left-handers, it’s the opposite.
Step 2: Selecting the Right Club
– Choose a club that provides you with the confidence and control necessary for this shot. Often, a longer club like a driver or fairway wood can execute the fade effect.
Step 3: Adjusting Your Stance
– Aim your feet, hips, and shoulders slightly left of your target (for right-handers) or right (for left-handers). This open stance will encourage an outside-to-inside swing path, crucial for creating the left-to-right spin.
Step 4: Positioning the Ball
– Place the ball slightly forward in your stance. This position helps promote contact with the ball as the club is moving left, enhancing the cut effect.
Step 5: Gripping the Club
– Use your regular grip but ensure it’s not too tight. A death grip can hinder the fluid motion needed for a successful cut shot.
Step 6: Aligning the Clubface
– Slightly open the clubface at address relative to the target line. This adjustment will help impart the necessary sidespin for the cut shot.
Step 7: The Swing Path
– Focus on swinging along the line of your feet, hips, and shoulders – this should be slightly outside the target line. The goal is to create a swing path that goes from outside to inside relative to the target line.
Step 8: Making Contact
– Strike the ball with a smooth, controlled swing. Ensure the clubface is slightly open at impact to promote the desired spin.
Step 9: The Follow-Through
– Complete your swing with a full follow-through, ensuring your hands move left of the target in the finish (for right-handers). This motion helps reinforce the outside-to-inside swing path and the cut shot’s spin.
Step 10: Practice and Adjust
– Practice this shot consistently on the range, making slight adjustments to your stance, ball position, and clubface orientation to refine your control over the shot’s shape and trajectory.

The Opposite of a Cut Shot: The Draw
In golf’s strategic arsenal, the draw stands as the cut shot’s counterpart. For a right-handed golfer, this means a ball flight that curves from right to left. It’s the preferred shot when you need to circumvent obstacles on the right or when the wind direction favors a right-to-left trajectory. Mastering both the cut and the draw equips a golfer with versatile responses to the course’s myriad scenarios.
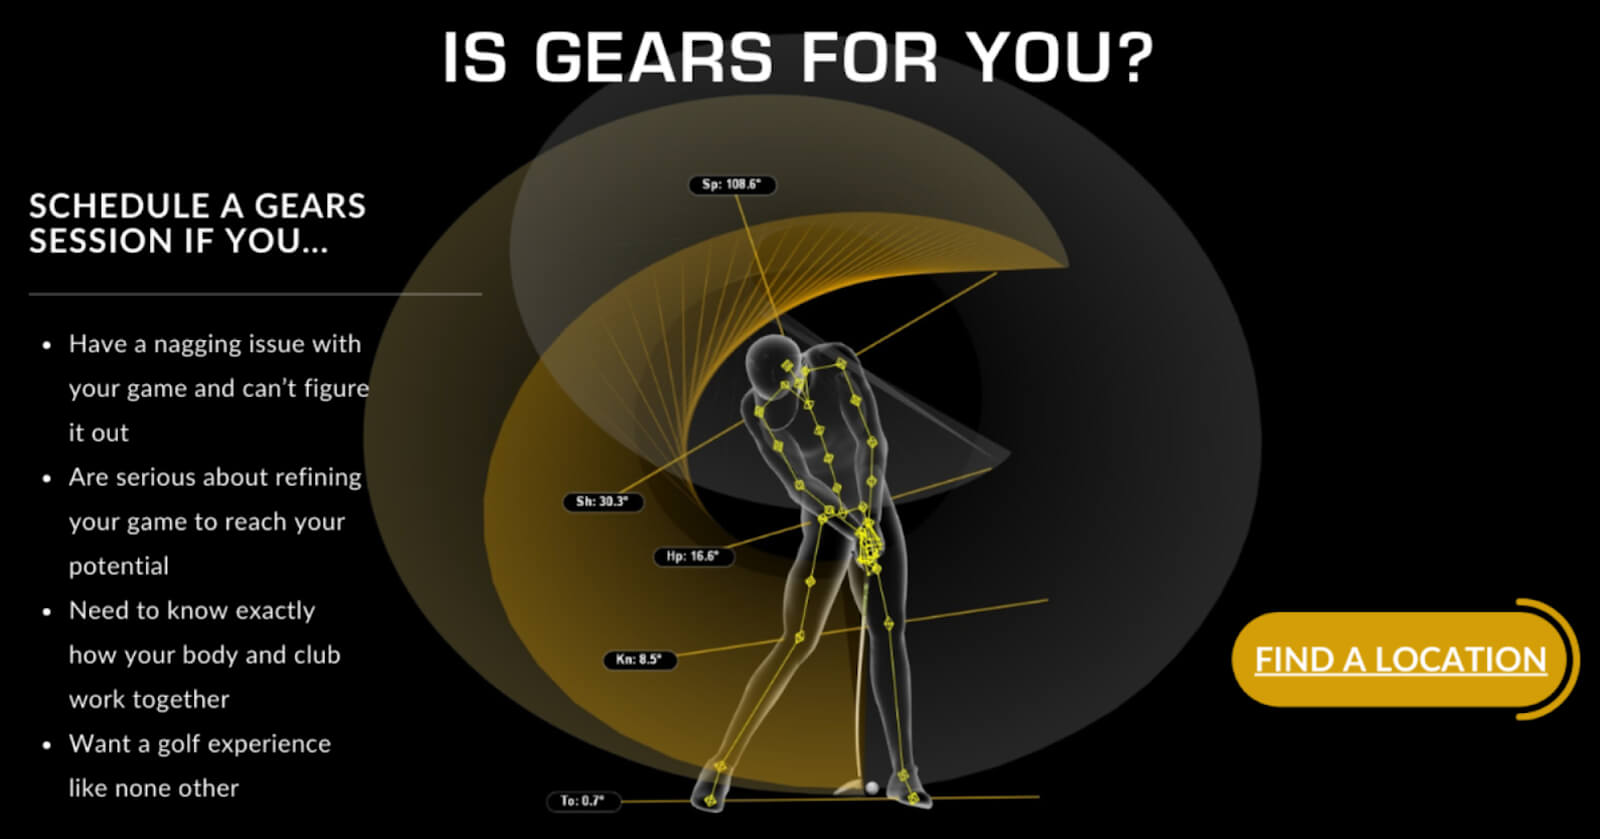
Elevating Your Game with Gears Golf Swing Motion Capture
In the pursuit of perfecting the cut shot, and all aspects of your game, Gears’ advanced motion capture system emerges as an invaluable ally. This cutting-edge technology offers a granular analysis of your swing, providing insights that go beyond traditional coaching methods. By comparing your swing with professional standards, Gears empowers you to make precise adjustments, ensuring your practice translates into tangible improvements on the course.
Gears: Integrate Technology into Your Training
Incorporating Gears technology into your training regimen means you’re not just practicing; you’re engaging in a data-driven, analytical approach to improvement. Understanding the minutiae of your swing’s angles and speeds can be particularly transformative when refining shots like the cut or draw, where precision is paramount. Sign up and you can come give it a try!
Drills to Perfect Your Cut Shot Execution
Mastering the cut shot requires not just an understanding of its mechanics but also dedicated practice. Here are some targeted drills designed to help golfers refine their cut shot, ensuring it becomes a reliable tool in their golfing arsenal.
1. The Alignment Stick Drill:
– Objective: To ensure the correct swing path and clubface orientation for a cut shot.
– How to Execute: Place alignment sticks on the ground to form a narrow ‘gateway’ that the ball should pass through, encouraging an outside-in swing path. This setup helps in visualizing the line and encourages the proper swing direction to execute a cut.
2. The Clubface Adjustment Drill:
– Objective: To get comfortable with opening the clubface at impact.
– How to Execute: Begin by practicing half-swings with the clubface slightly open at setup. Focus on maintaining the open face throughout the swing, particularly at impact, to induce the left-to-right spin characteristic of a cut shot.
3. The Two-Ball Drill:
– Objective: To understand the effect of swing path on ball flight.
– How to Execute: Place two golf balls on the ground, one directly behind the other, in line with your target. Aim to hit the front ball while also grazing the back ball. This drill promotes an outside-in swing path, essential for executing a cut shot.
4. The Tee Height Variation Drill:
– Objective: To practice cut shots with varying ball flights.
– How to Execute: Hit cut shots with the ball teed up at different heights. This variation helps you understand how tee height affects the ball’s flight path and spin, allowing for greater control over your cut shots.
5. The Target Practice Drill:
– Objective: To refine accuracy and consistency in your cut shots.
– How to Execute: On the range, pick specific targets and practice curving the ball towards them using the cut shot. Adjust your stance and clubface orientation to control the curve’s degree, aiming for consistency in ball flight and landing spot.

Embracing the Cut Shot with Confidence:
With these drills (and more) and the support of advanced technology, mastering the cut shot becomes a more attainable goal. Regular practice, coupled with a strategic understanding of when and how to use this shot, will not only lower your scores but also add a new layer of strategic depth to your game.